Our platform provides access to data across Australia, but to get the best insights you need to set up the location(s) most relevant to you.
Search and save the location that you're most interested in to access instant lifestyle insights. To do this, you can utilise the 9,300 public locations generated every month across Australia, or request a custom location.
But first: What is a location?
Lifestyle data needs to be viewed across a neighbourhood. This means you need to select a small (ideally 3km2 - 5km2) region that will become the boundary used for the lifestyle analytics reporting. We recommend a 1km radius around your point of interest, but you are able to change this if utilising a custom location.
Accessing Public Locations
Our system has identified 9,300 locations across Australia that you can access instant reports for. There are 3 simple ways to access and save these locations.
WATCH: How to set up a location (4 mins)
In summary you can:
1. Add a location on your Front Desk

2. Generate a report from Discover
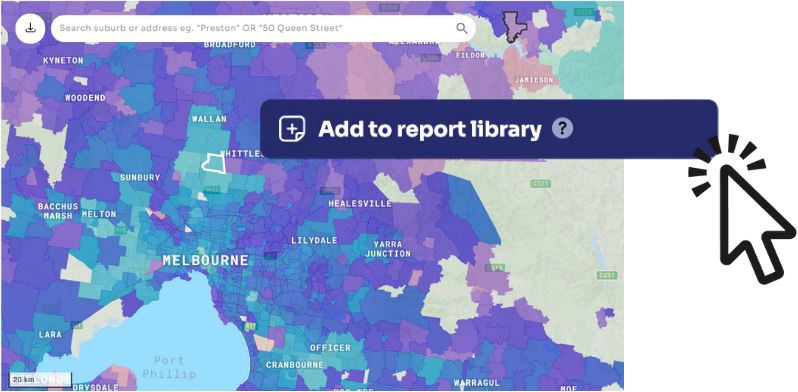
Once you’ve found the suburb that you’re interested in, select the “add to report library” button, and our system will generate a report for a 1km radius around the busiest part of the chosen suburb

3. Select a location from within an insights report
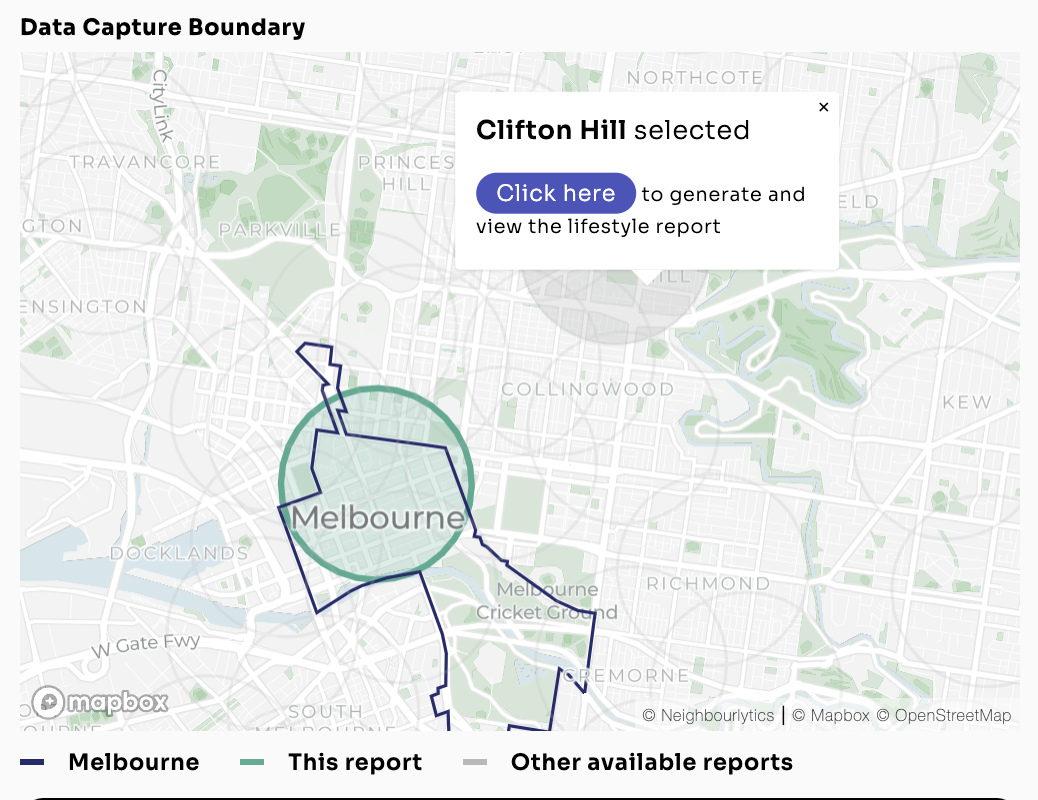
A great way to save locations adjacent to your focus location, is to do so from within the Insights Report. Navigate to one of the maps in the report, and pan around to identify and select the nearby location that you’d like to save

Accessing Custom Locations
If you can’t quite pinpoint the area you need in the public locations, you can request a custom location.
Once set up, custom locations provide:
- Flexibility to choose the data capture shape and size (our team can guide you through this for the best results)
- Data refreshed each month
- Visible only by you and your invited viewers
Take a look at our FAQs to learn more about how to choose the size and shape for custom boundaries.
Need more than 1 custom location? No problem, contact us to request a quote to add on another location.
*Note that all seats purchased after 1 July 2024 now include a custom location. If you signed up before 1 July 2024 and would like to add a custom location then contact us
How to request a custom location
You can easily set up custom locations directly in the platform, just follow these steps:
- Upgrade your account to Pro or Advanced - all paid seats include 1 custom location, but you can also add more at any time.
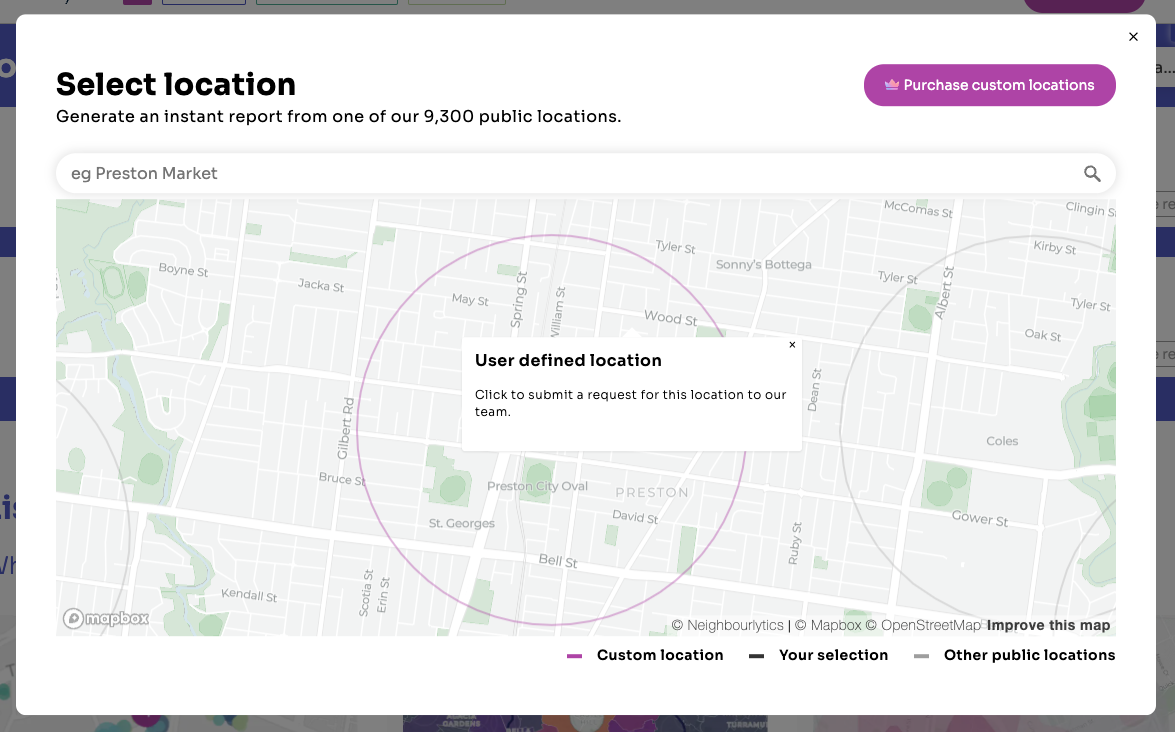
- Use the location search bar on your Front Desk to search for the location that you need.
- Once selected, you will be prompted to name your location, and submit it for processing.
- We'll apply credits from your account first. If you don't have a custom boundary credit, you will receive a quote to purchase additional locations.

Notes about custom locations:
- The data capture boundary will be a 1 km radius around your location of choice, as shown on the map
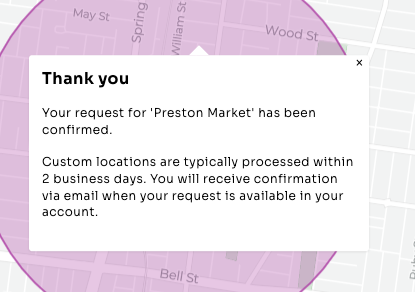
- All custom locations are processed monthly with the monthly data run, and is released by or before the 14th of each month.
- If you confirm your location before approximately the 15th of the month, you will receive last month’s data. Requests received after the 15th of each month, will be processed in the following month.
- Once a custom location is saved, it will be refreshed monthly during the regular data run, insuring you always have the latest data results

